Night photography
Yes, dear readers ... sorry at first, because if you thought an "h" here was a "k", you will certainly look a little disappointed ... but this article is really 'just' about how pictures are taken in the dark. So that not all cats are gray at night. In other words: brightening instead of revelation!
The order
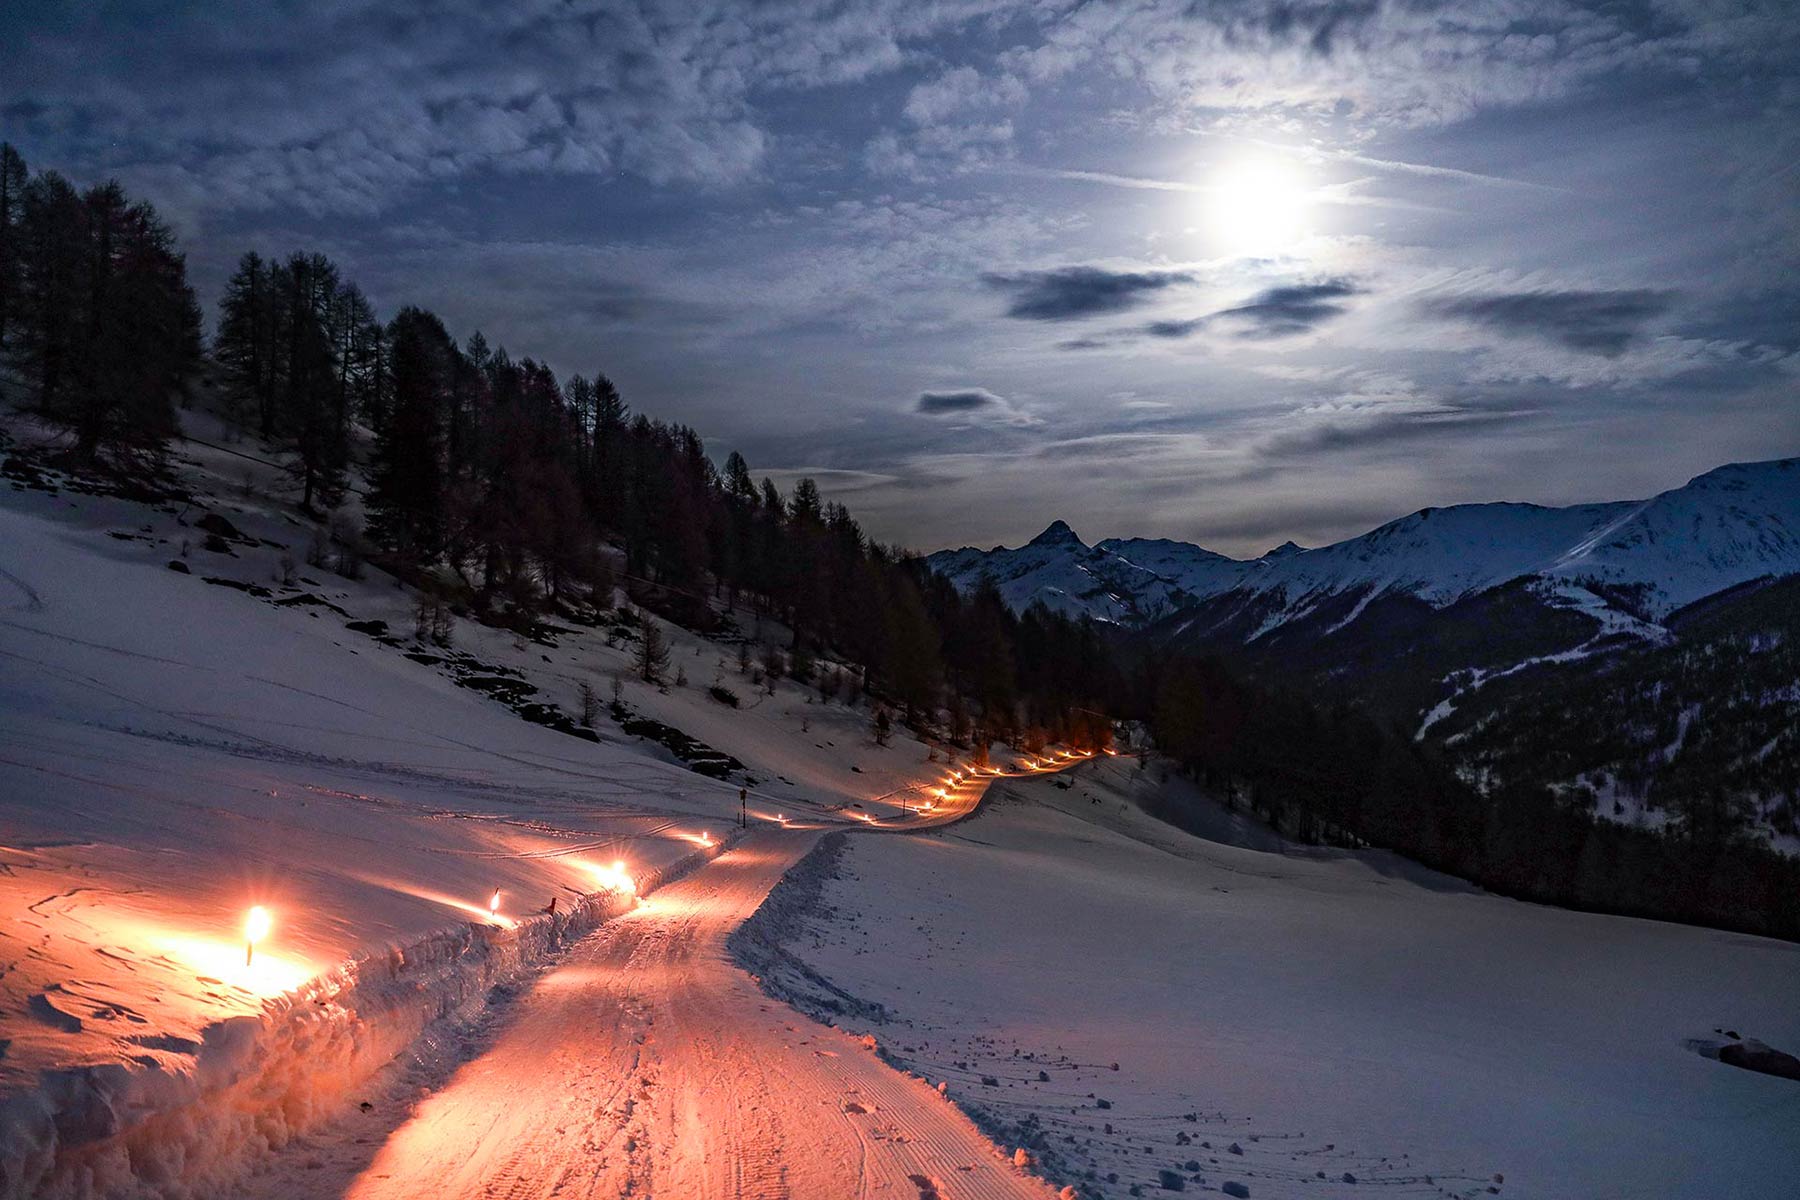
It was necessary to take night shots of the newly renovated Alp Es-Cha Dadour for the municipality of Madulain. The scenery of the snow-covered slopes and the rustic hut was simply fairytale ...
The challenge
... but dark at night. Spotlights were out of the question for us, since they would disturb the overall ambience of natural tranquility. So…
The solution
... we lined the winter path, which winds to the alp, with torches, which provided a wonderfully warm and romantic color.
To capture this beautiful sight with the camera, you need
a reflex camera or a mirrorless camera of the new generation
a tripod
and possibly a remote control (or the self-timer that gives equivalent results) if you want to avoid vibrations.
That's how it works:
First adjust the camera manually and mount it on the tripod. Be sure to disable auto focus and lens stabilization (if available).
When it is completely dark, watch the sky, point the camera at the brightest celestial body, and manually focus on this reference point:
The ISO value should be as low as possible, max. 3200. Please also set the aperture as low as possible, i.e. to f / 1.4, f / 2.8 or similar.
You get the exposure time in seconds with the following calculation:
(For Full frame cameras) 600: focal length = exposure in seconds
(For APS-CCameras) 600: (focal length x 1.6) = Exposure in seconds
Example of a Canon EOS R (full frame) 24 mm f / 2.8
600: 24 mm = 25 seconds exposure time
The result
Voilà: Madulain under a full moon: www.madulain.ch


